
Imperial moustache
Moustache with the ends swept dramatically upward.
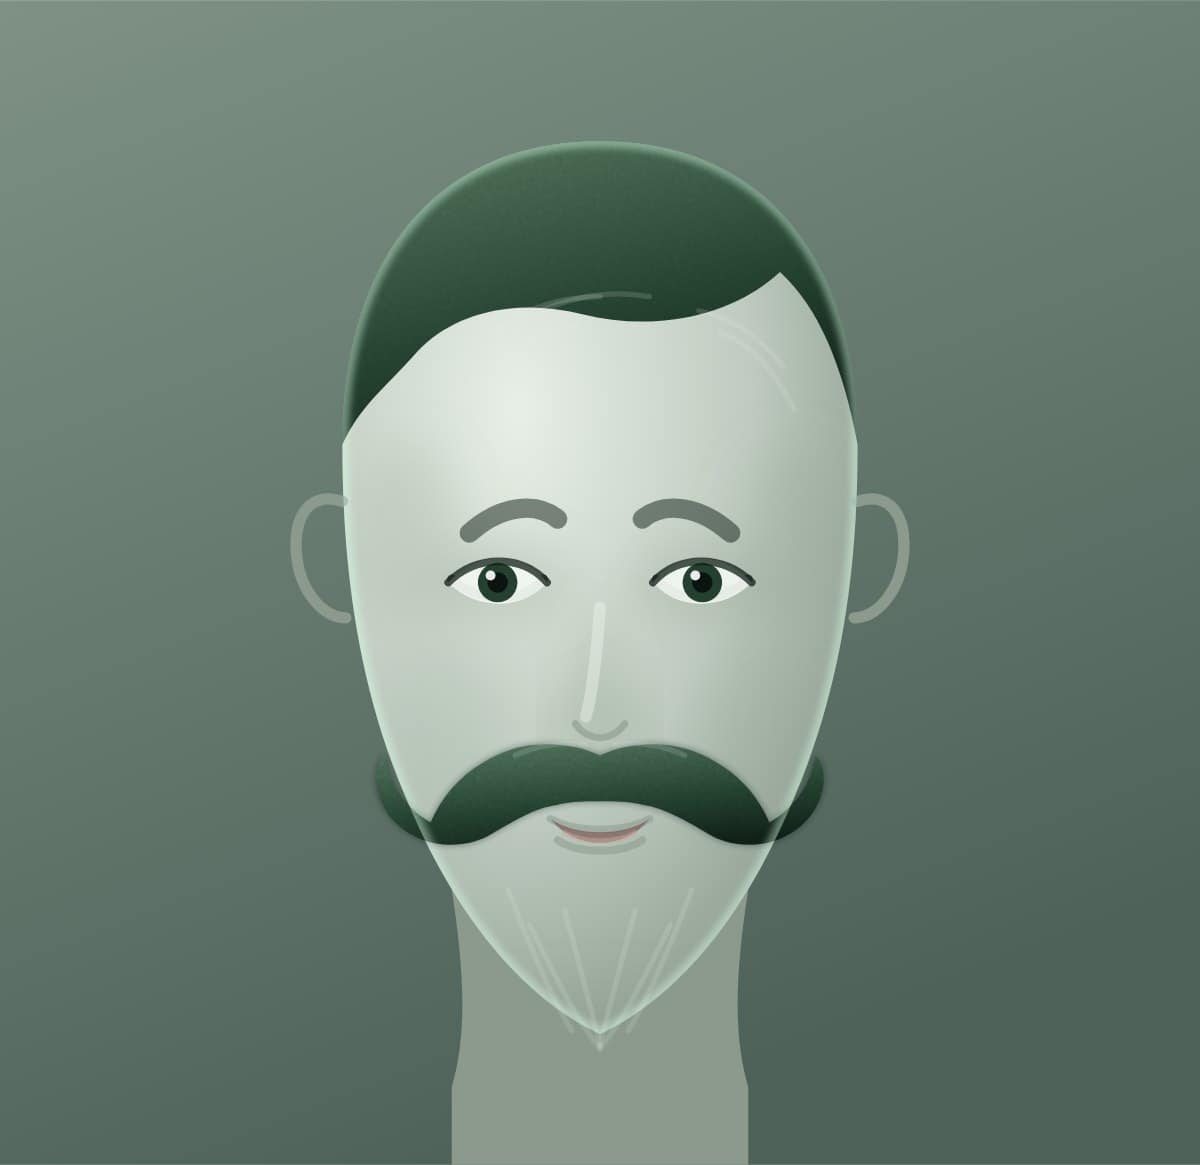
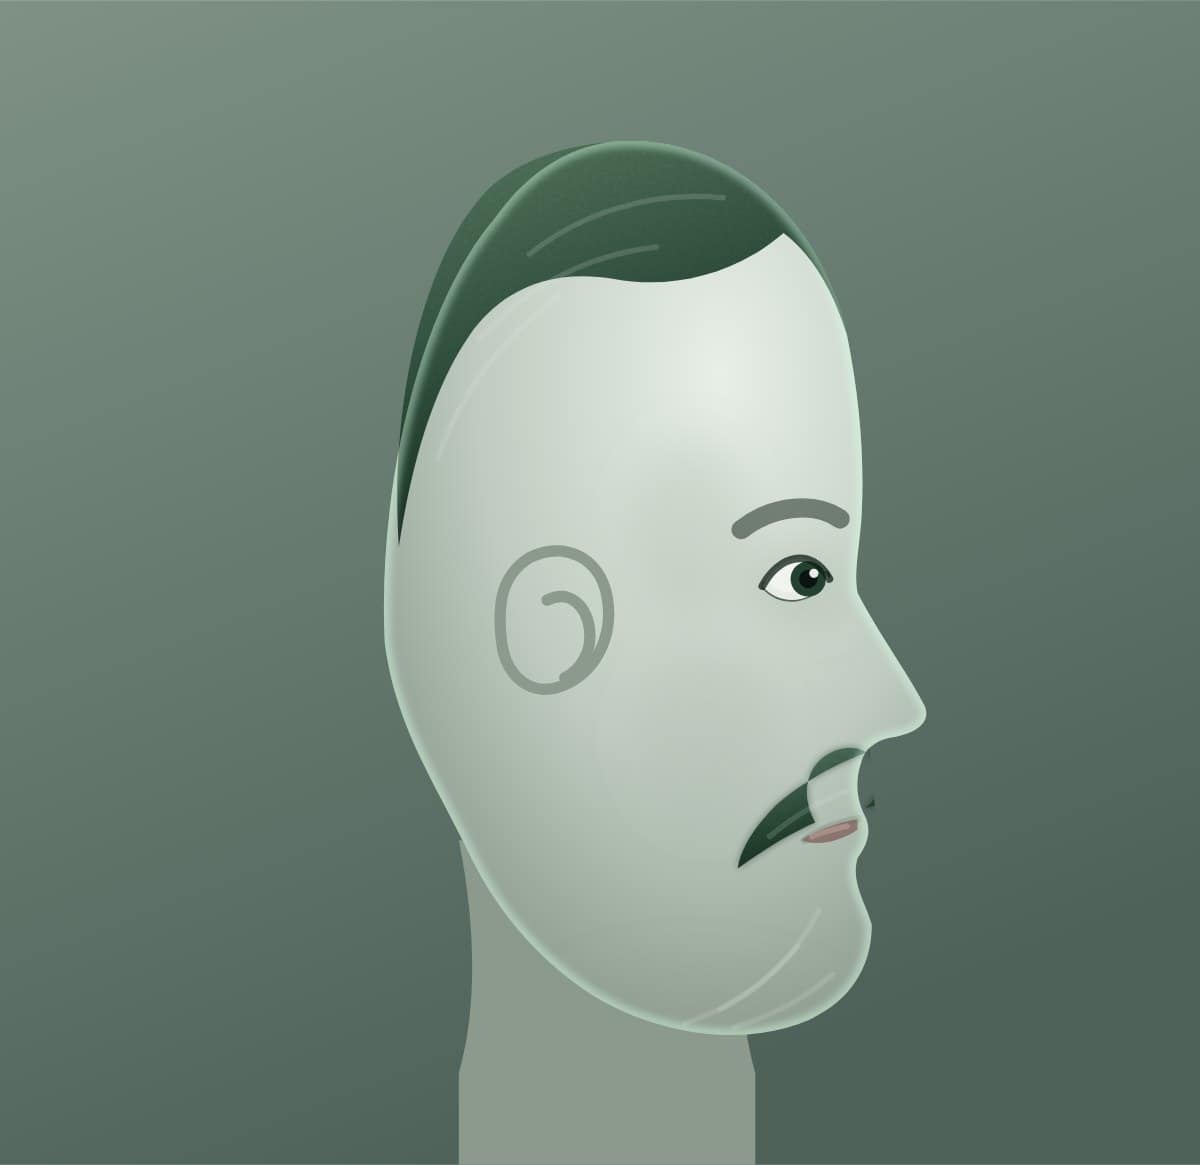
At a glance
- Also known as
- kaiser moustache
- What it is
- Moustache with the ends swept dramatically upward.
- Length
- Long, three inches and up
- Growing time
- 4 to 6 months or more
- Trim how often
- Every 1 to 2 days
- Best face shapes
- Any
- Moustache
- Yes
Difficulty5 / 5
How easy it is to get wrong.
Upkeep5 / 5
How often you are back at the mirror.
Growing time5 / 5
How long before you can shape it.
£5 off your first delivery
The ends go up, everything else comes off. A clean face is what makes the shape look deliberate.
Valid on your first order of blades. We send the newsletter rarely, and you can unsubscribe in one click.
The variations
The same shape, worn differently. What changes is length, density and how much you take off at the edges.
Imperial
Long
Ends swept dramatically upward.
Kaiser
Long
Bigger, stiffer, held with heavy wax.
Will it suit your face?
Where a style puts weight, and where it takes it away, is what decides whether it suits you. The table below is the short version.
| Oval | Ideal | No shape to correct, so anything from a pencil to a handlebar sits well. |
|---|---|---|
| Redondo | Works | Go wider than the mouth rather than heavier, so it does not add bulk. |
| Cuadrado | Ideal | A strong jaw carries a heavy moustache without looking top-loaded. |
| Oblongo | Ideal | Horizontal weight across the lip breaks up the length. |
| Heart | Works | Draws the eye down from a broad forehead. |
| Diamante | Works | Adds width across the middle of the face. |
How to cut one, in four steps
- Grow it out4 to 6 months or more. No trimming at all in that time, including the hairs hanging over your lip.
- Set the shapeComb it down and flat, then cut to your outline. Never cut it wet, it dries shorter than you cut it.
- Clear the lipTrim along the top lip line so it does not end up in your mouth. Scissors give more control than a trimmer here.
- Wax and trainWarm the wax between your fingers first, work it in from the centre out, then shape the ends.
Full detail, tools and the common mistakes are in the guide below.
Other moustaches
Same shape, different length or moustache.
If this one is too much work
Same idea, less of your morning.
Browse by what matters to you
The same directory, cut a different way.